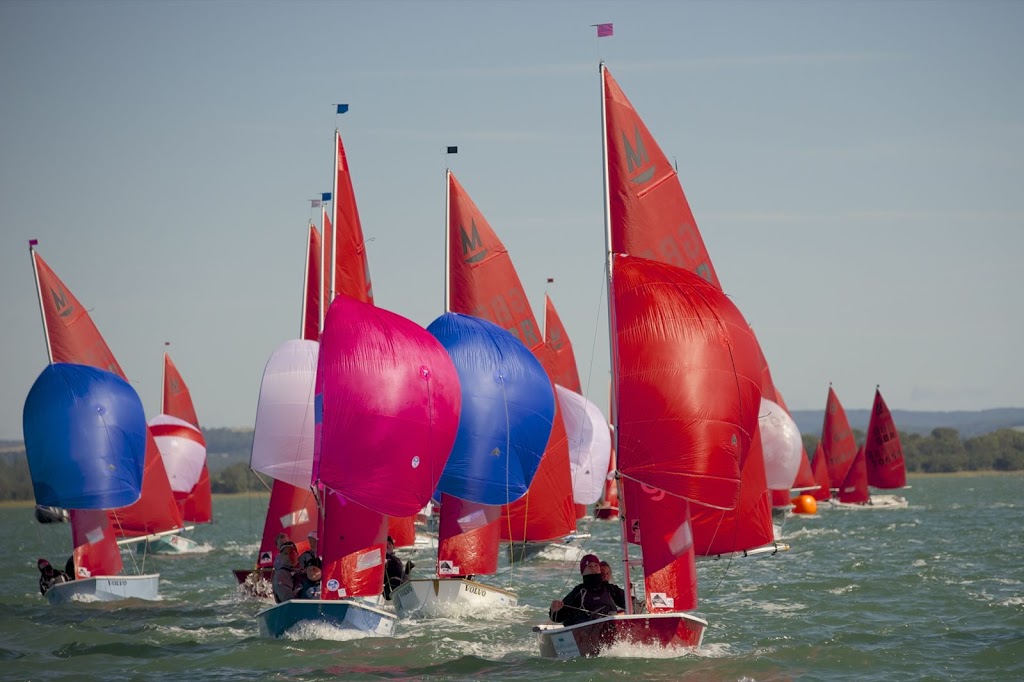
The building instructions (this version kindly provided by Mirror Sailing Development in Canada) cover the basic fitting out of a gunter mast on page 42 and page 43. If you are not going to have a spinnaker, then these may be adequate for you.
A couple of comments from me on these instructions
- The type of the halyard cleat (wrap around jamb horn cleat) show in the Building Instructions is far from ideal in my experience. A clamcleat is a much better bet (it does not bend like the typical plastic wrap around ones and is kinder on the rope). Also, because you can tension the halyard while it is in the cleat, you can also get the halyard really tight. I favour the use of "open" clamcleats such as these.
 |
 |
Clamcleats with open sides like this allow you to pull the sail up with the halyard out of the cleat, and just hook it into the cleat when the sail is hoisted. Lowering the sail is the reverse, uncleat the halyard and then take it clear of the cleat to lower. This is much easier than having the halyard running through the cleat all the time, as happens with the "closed" type of clamcleat. Yet another advantage is that you can easily add a 2:1 purchase system to the main halyard.
-
The location shown in the Building Instructions, one on each side of the mast near the foot, means that with the "wrap around" ones, the jibsheets get caught in the top "horn" every time you tack. It's also very difficult to pull the halyard up really hard when your hand is so close to the deck. I prefer to have the cleats about half way between the gooseneck fitting and the foot of the mast, located on the back of the mast and slightly angled, like this.

As you can seem, this mast is fitted with a handed pair with a silver finish - the part numbers for these are CL217MK2 & CL218MK2. They are located 285mm from the bottom of the heel to the bottom of the fitting. If I was fitting out this mast again, I would use one CL217MK2AN Mk2 Side Entry (Starboard) cleat and one CL218MK2AN Mk2 Side Entry (Port) cleat instead. The AN on the part number indicates a hard anodised (black) finish which is the best, espically for use in salt water. Whatever you decide, they have to be below the gooseneck to comply with the class rules.
The lacing eye/deck clip in the photo is for a 2:1 purchase system on the main halyard.
- If you can get hold of a pop riveter, I would do so and use pop rivets rather than self-tapping screws to hold fittings onto the alloy tube part of the mast. Also make sure you use rivets made of monel - a special alloy. These are more expensive and harder to get hold of than plain aluminium rivets, but they won't corrode and break, and so your fittings will stay put. You might need to use a spacer, some M3 or M4 nuts for example, on the mandrel of the rivet to get it seated in the right place if the nozzle of the pop riveter is too large to get into the recessed fixing hole on the cleats. Putting some zinc chromate primer or an etch primer or similar in the hole and on the rivet before you attach the fitting won't do any harm. No need to wait for it to dry.
The spinnaker pole eye & spinnaker pole uphaul pulley location is covered in the flyaway pole article.
A Spinnaker halyard crane is a popular option. A lot of boats are equipped with the Holt-Allen HA4184 or Allen Brothers A4184.

These have a lot of friction and the plastic roller is prone to stick in one position, then the halyard wears a groove in it. If you have one of these the best bet is to shackle a small ball bearing block, such as the Harken HK404 to the front hole and take the spinnaker halyard down directly from the block, missing out the roller altogether.

I use this RWO crane on my masts with a small ball bearing block fixed to the eye.

I've fitted mine upside down, and slightly offset to port, so it does not foul the main halyard, as you can see here.

In order to get the gaff to go vertical with no gap between the gaff and the mast, and to ensure it rotates correctly, you need to cut away around the sheve on the aft side at top of the mast. Something like this:
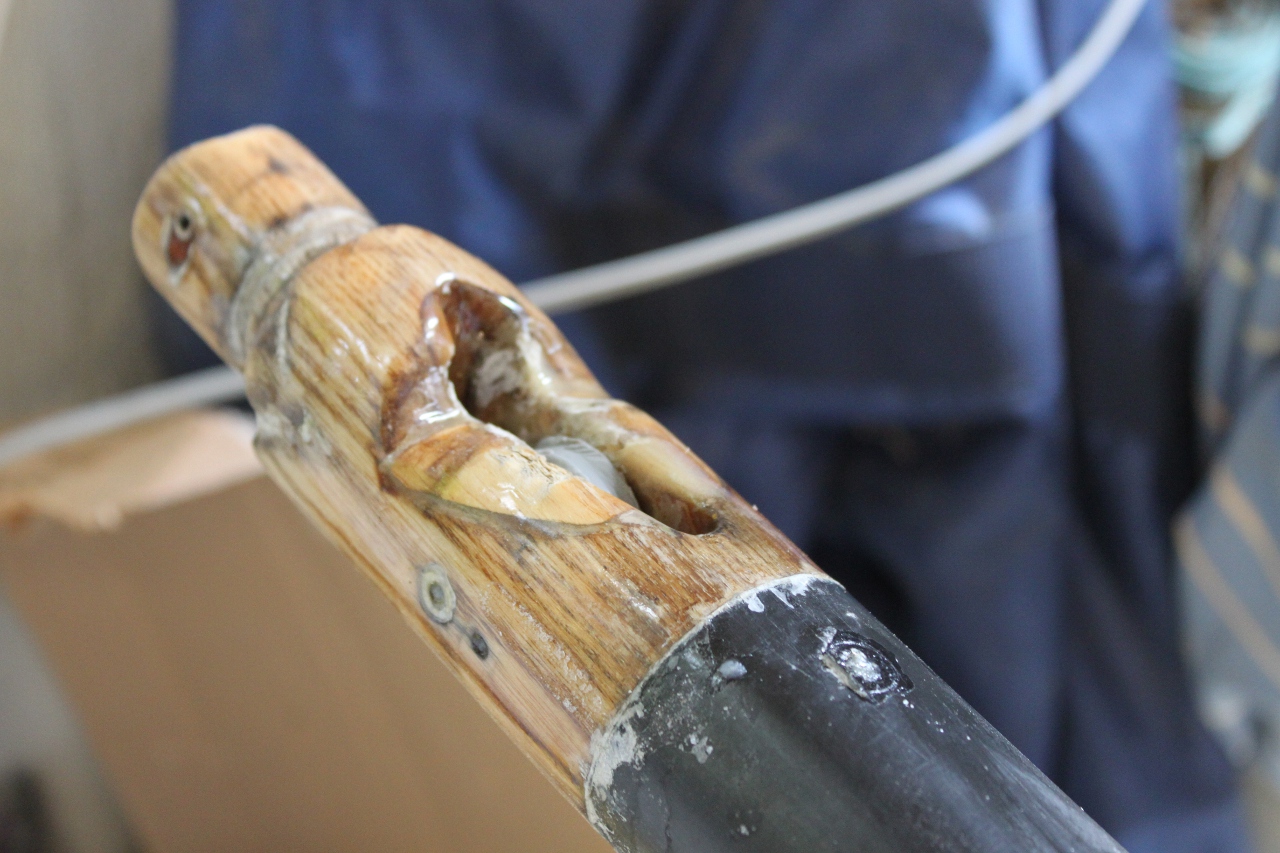

I suggest holding the mast in a vice and rigging the gaff and gaff halyard and then pulling the halyard tight to simulate the situation when sailing. You should be able to see then what is stopping the gaff going up vertical and do something about it.